How I Got The Shot – Bride Putting On Dress

As with all the HOW I GOT THE SHOT series I have started with a 3D diagram to better illustrate the concepts behind what is happening. This was a difficult spot, but we can’t always control where the bride has decided to get dressed. In this case, it was a small bathroom at the reception location. The area we had to work with was about 8 feet by 8 feet with overhead fluorescent lighting. All in all – a photographer’s nightmare.
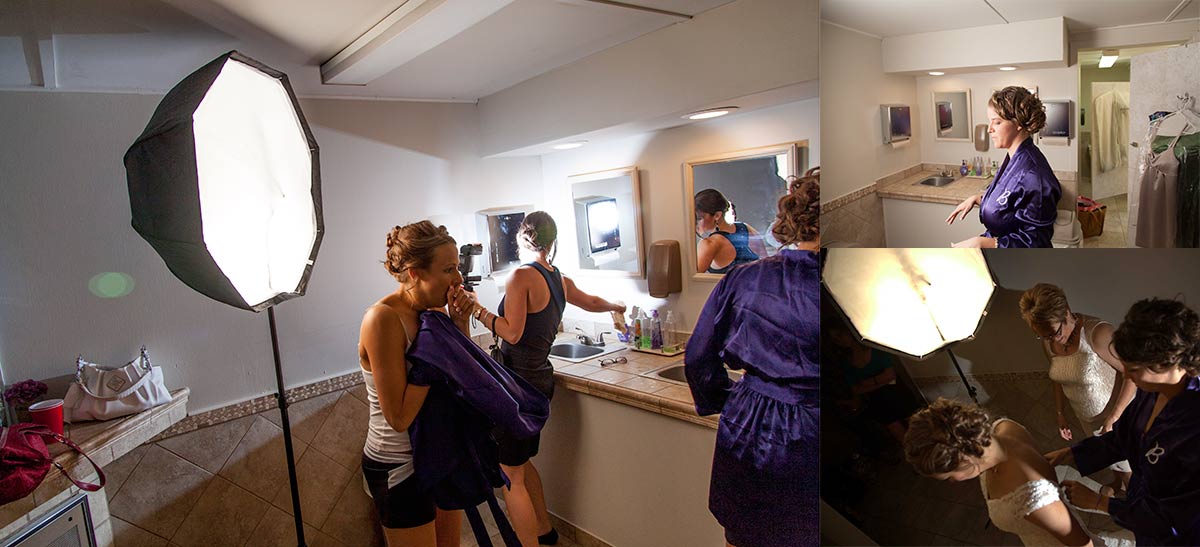
ACTUAL SPACE
My immediate thought was to simply use on camera flash and bounce it off the walls to the side. However, the room was so small that I knew if I tried to bounce the light it would simply light up the room completely. In addition, the mirror on the right would bounce light extremely hard. So I quickly put together an umbrella on the Cheetah Stand and was good to go. Now I will take you through the process.
EXISTING CONDITIONS | The image below represents the terrible lighting conditions as we found them. The first thing I did was turn off the overhead florescent. Too often wedding photographers forget that they can turn off lights. It’s not all about adding light – it’s often more strategic to take light away.
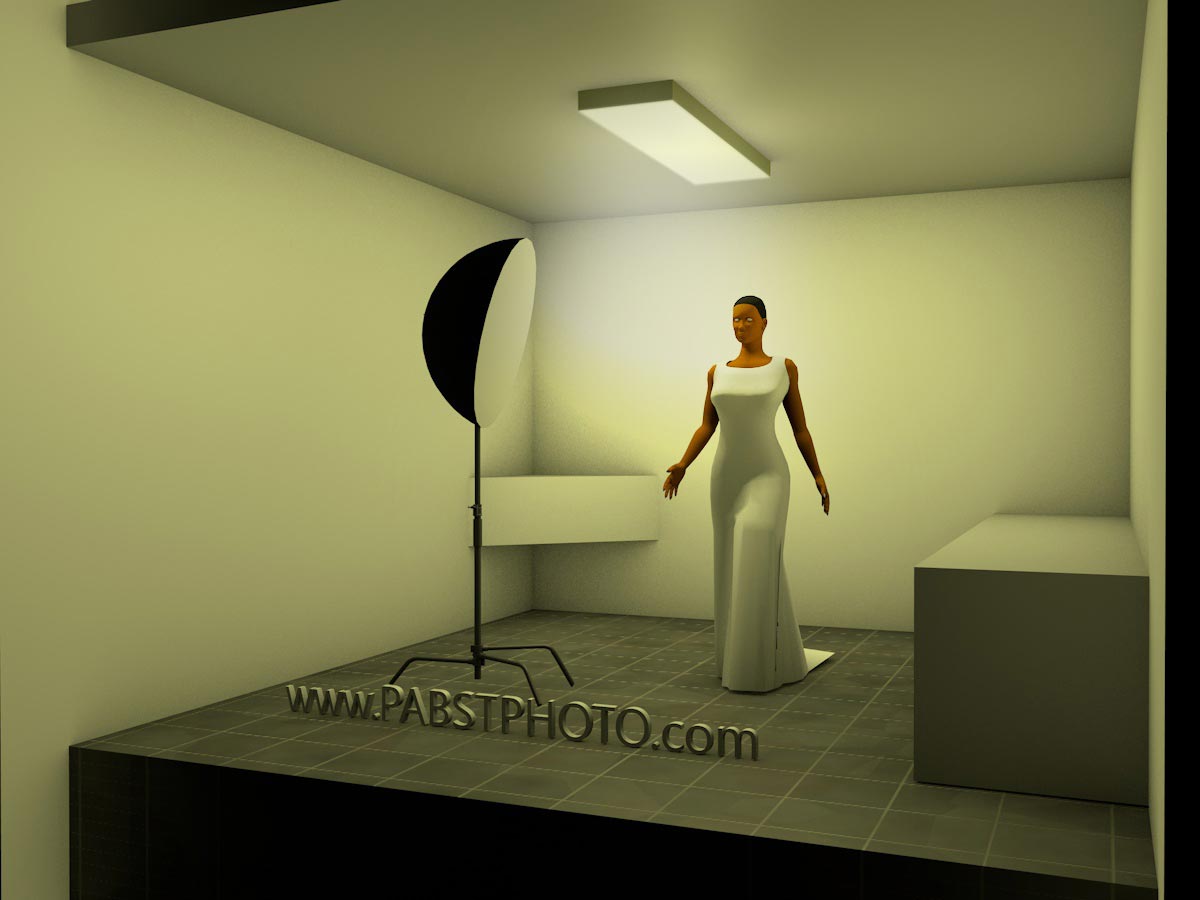
3D | EXISTING CONDITIONS
KILL THE LIGHTS | The image below represents that decision to kill the overhead light. Now my light was flat, but at least it was flat and even. I knew that any light from camera left or camera right would be clean.
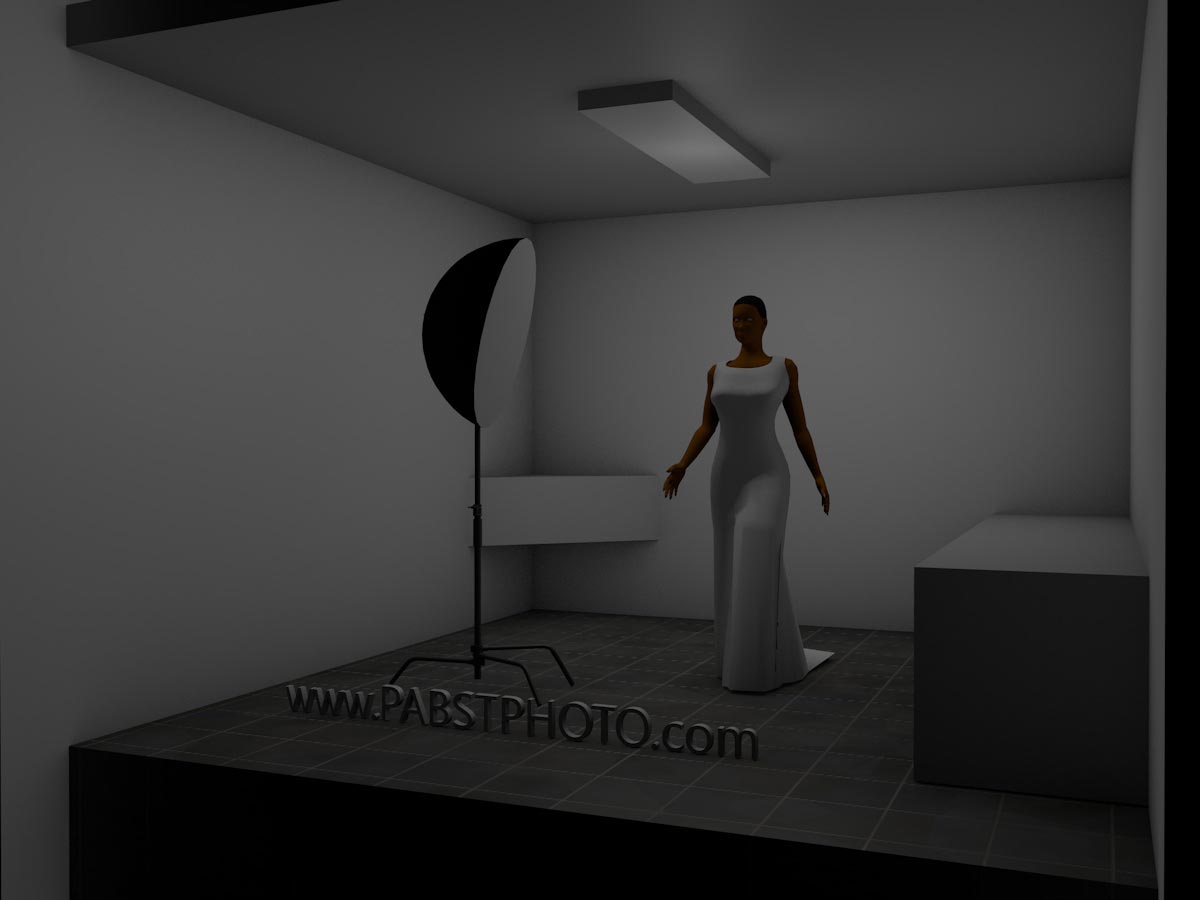
3D | KILL THE LIGHTS
ADD UMBRELLA (SOFT BOX) | I placed the umbrella to camera left for two reasons – but to be honest, I had little choice. To my right were all the on-lookers who wanted to watch the beautiful girl get her dress on – so putting the umbrella and stand toward the wall was the obvious choice. It also occurred to me that placing it camera left might allow a lot of light to fill in the shadows on the left side of her face when light was bounced off the mirror to camera right.
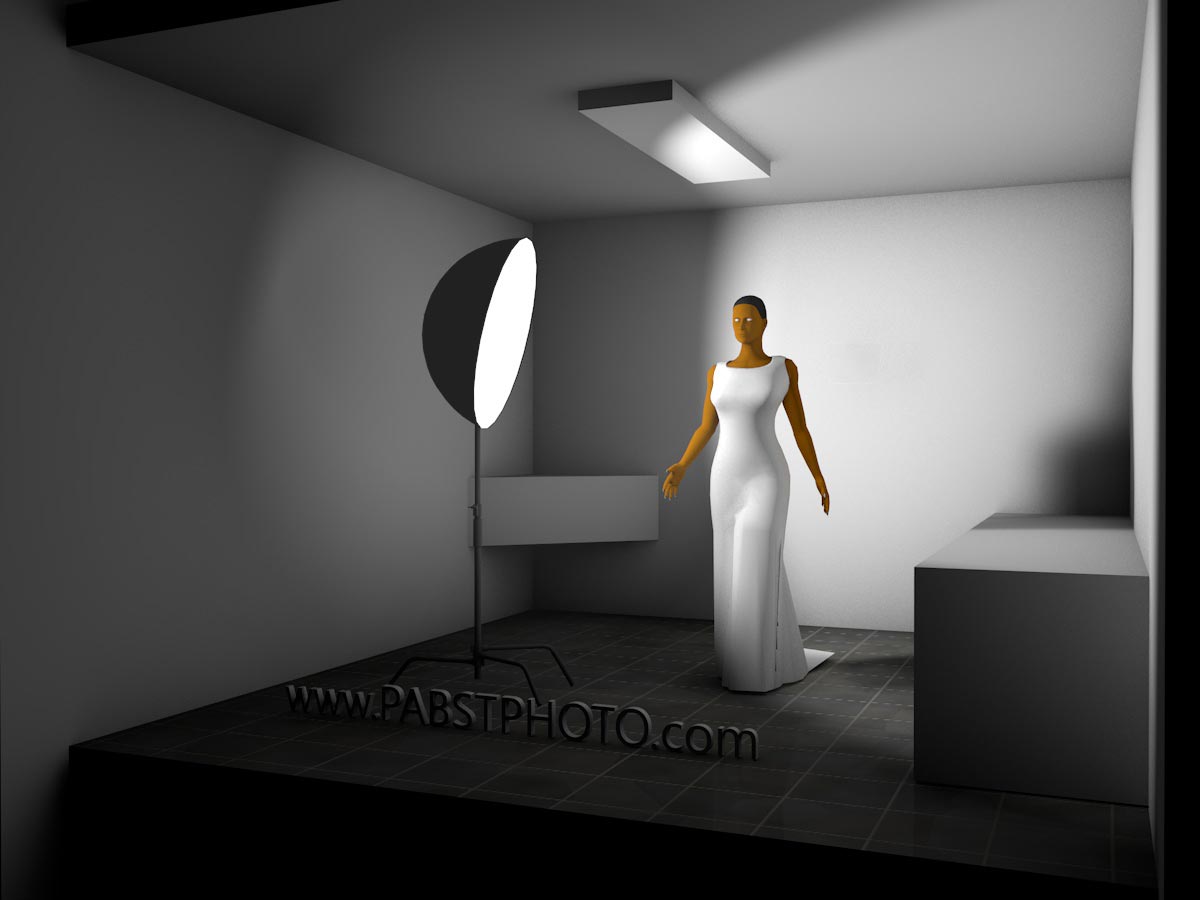
3D | ADD SOFTBOX
RIM LIGHT | Lastly we added a speedlite to a monopod and had Jamie place it behind the bride. This added the highlights to the hair and rim to the shoulders as illustrated below.
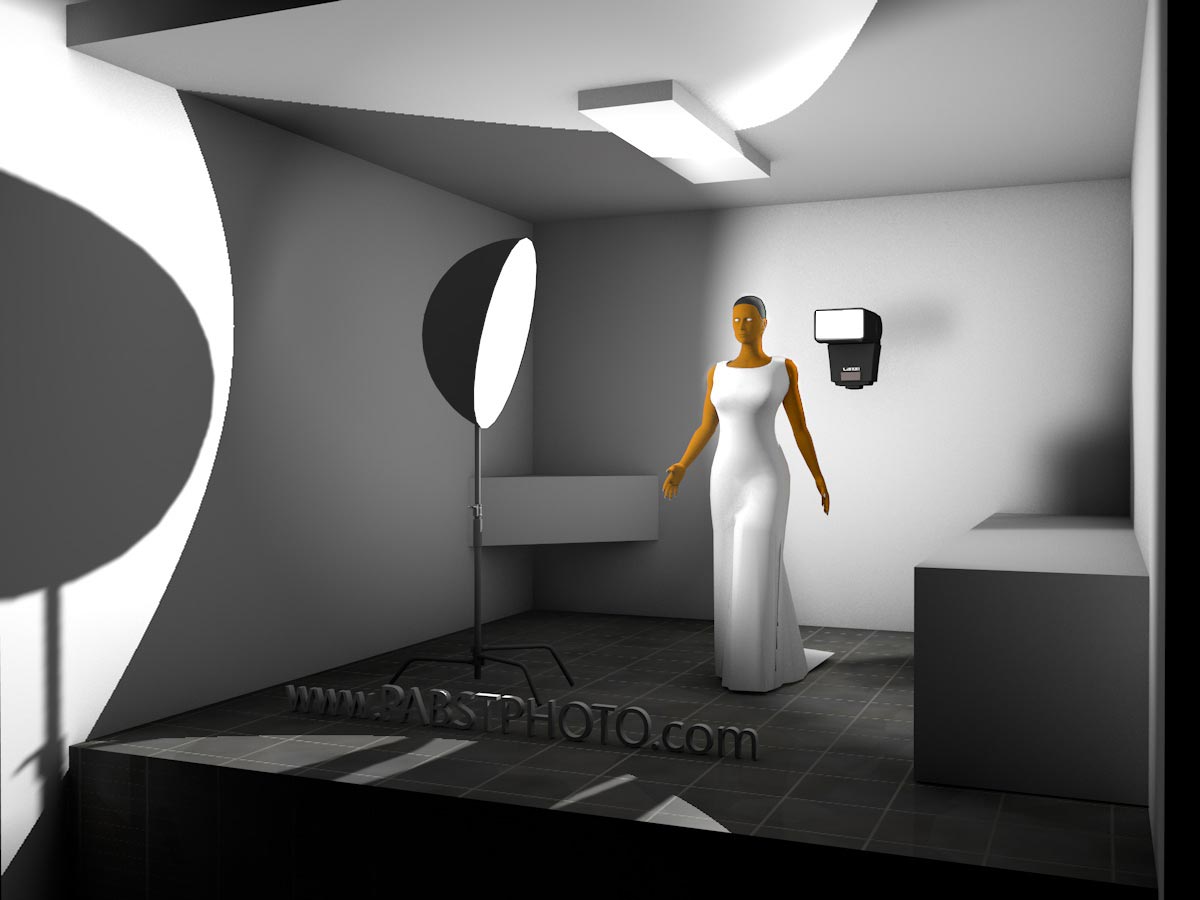
3D | ADD RIM LIGHT – FLASH
Now that we understand what’s happening, we can look at the finished photography. Note the soft light and the touch of rim light. The umbrella is not directly left of the bride so the large soft-box catch-lights can be seen in the eyes as well.
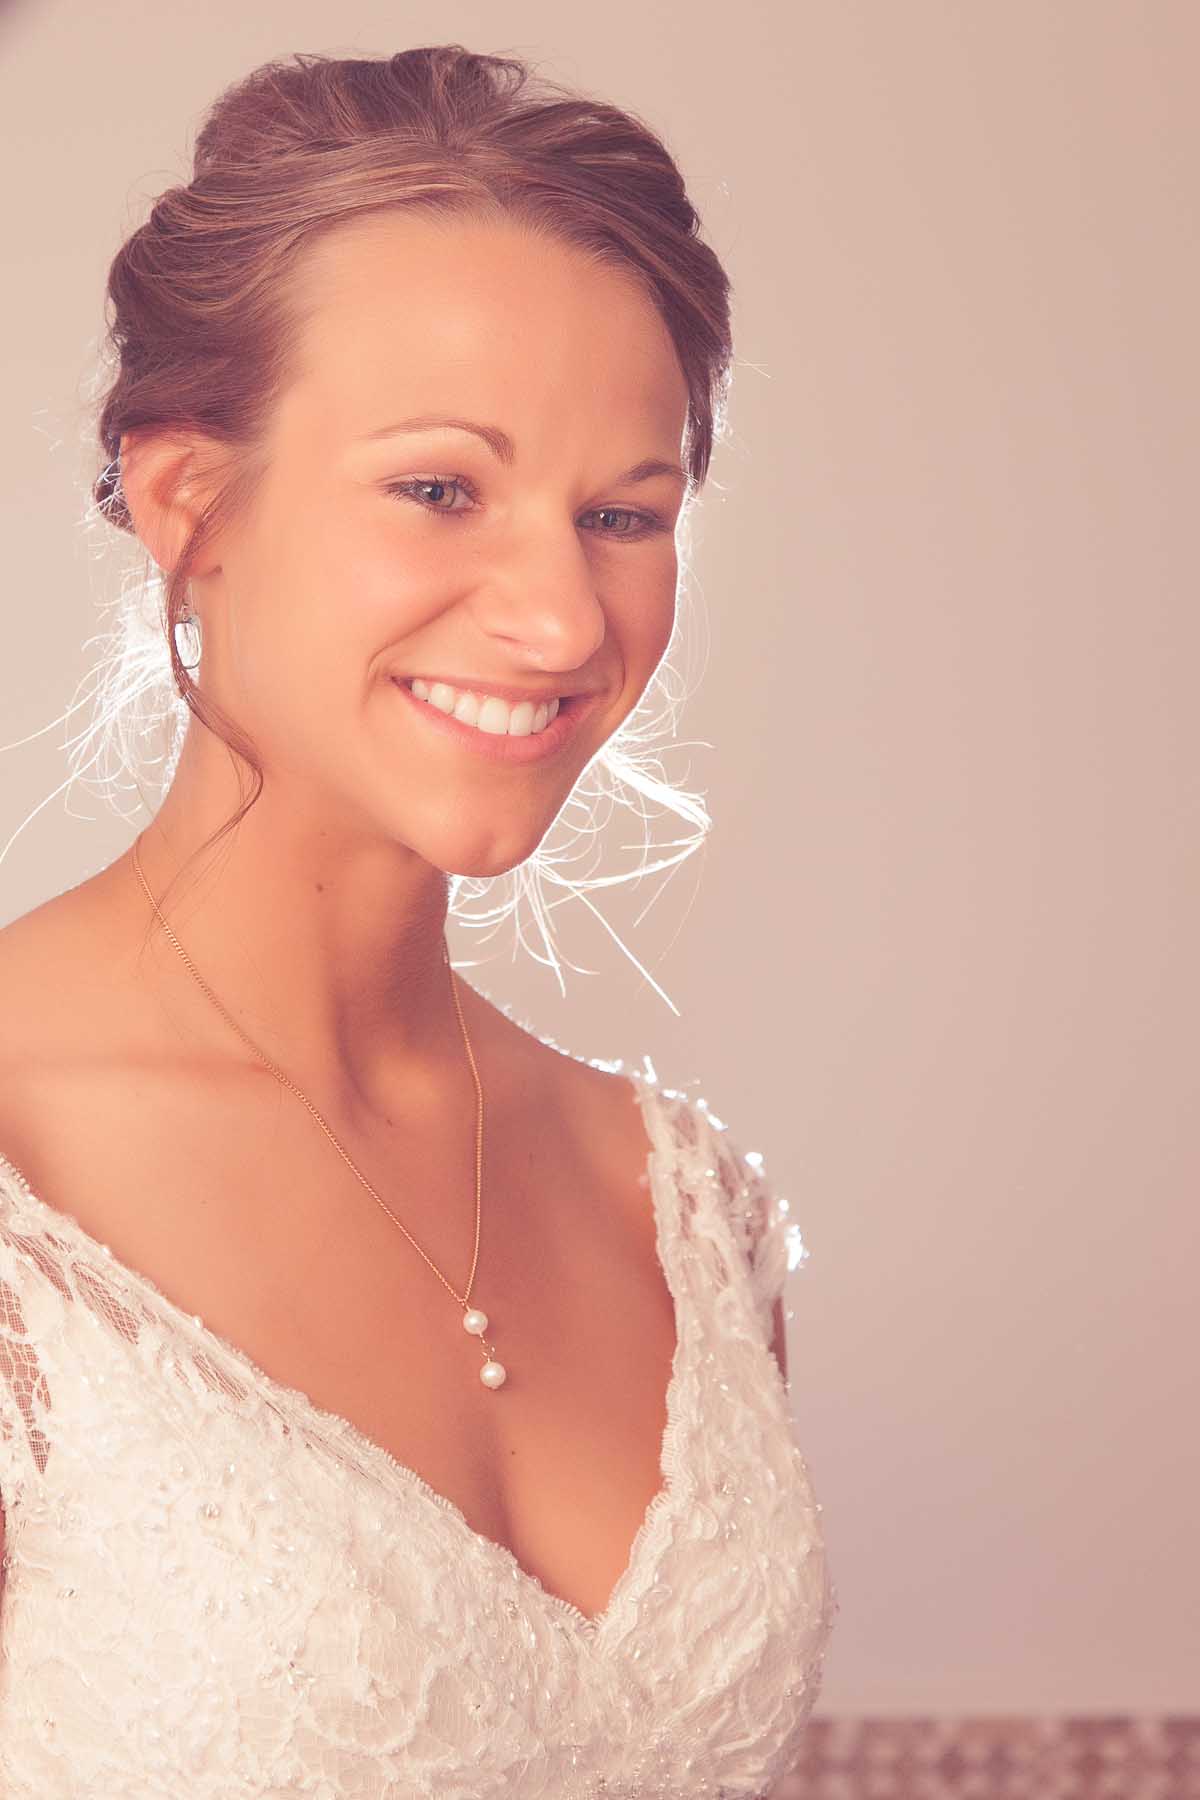
5D MARK II – f/6.3 at 1/100sec. ISO-1600
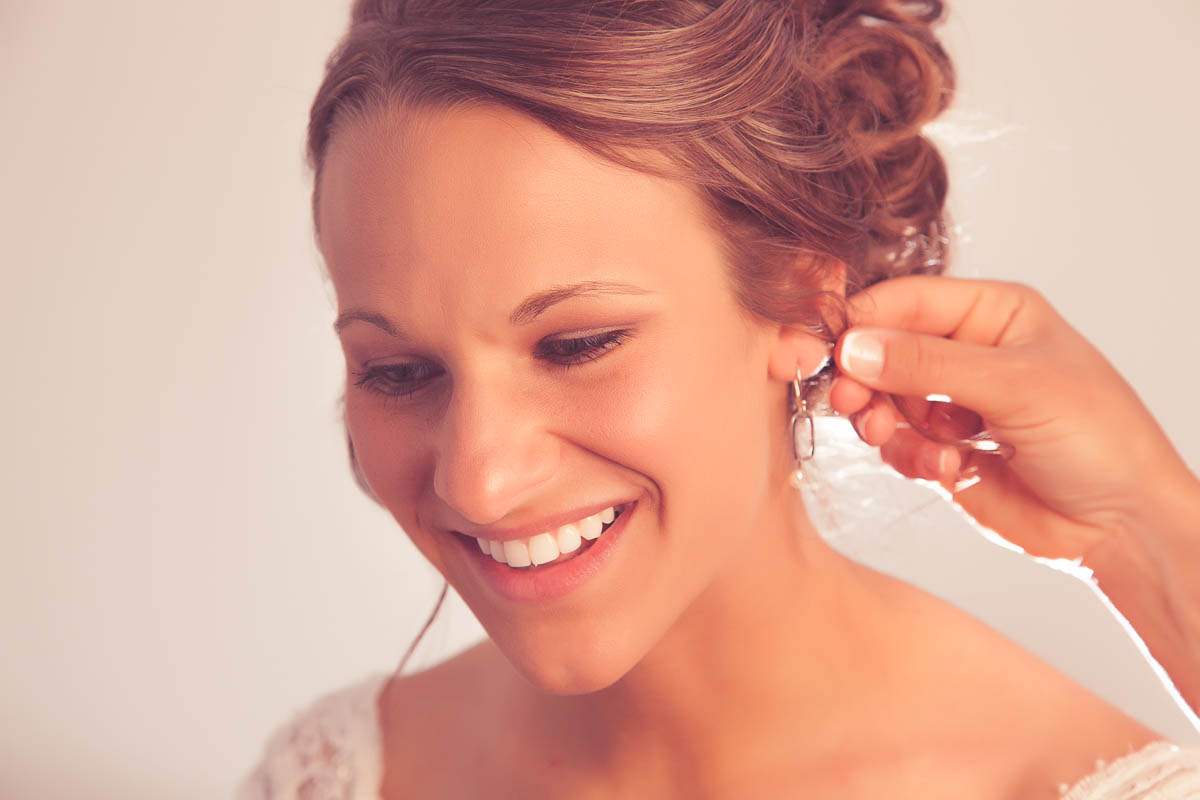
5D MARK II – f/6.3 at 1/100sec. ISO-1600
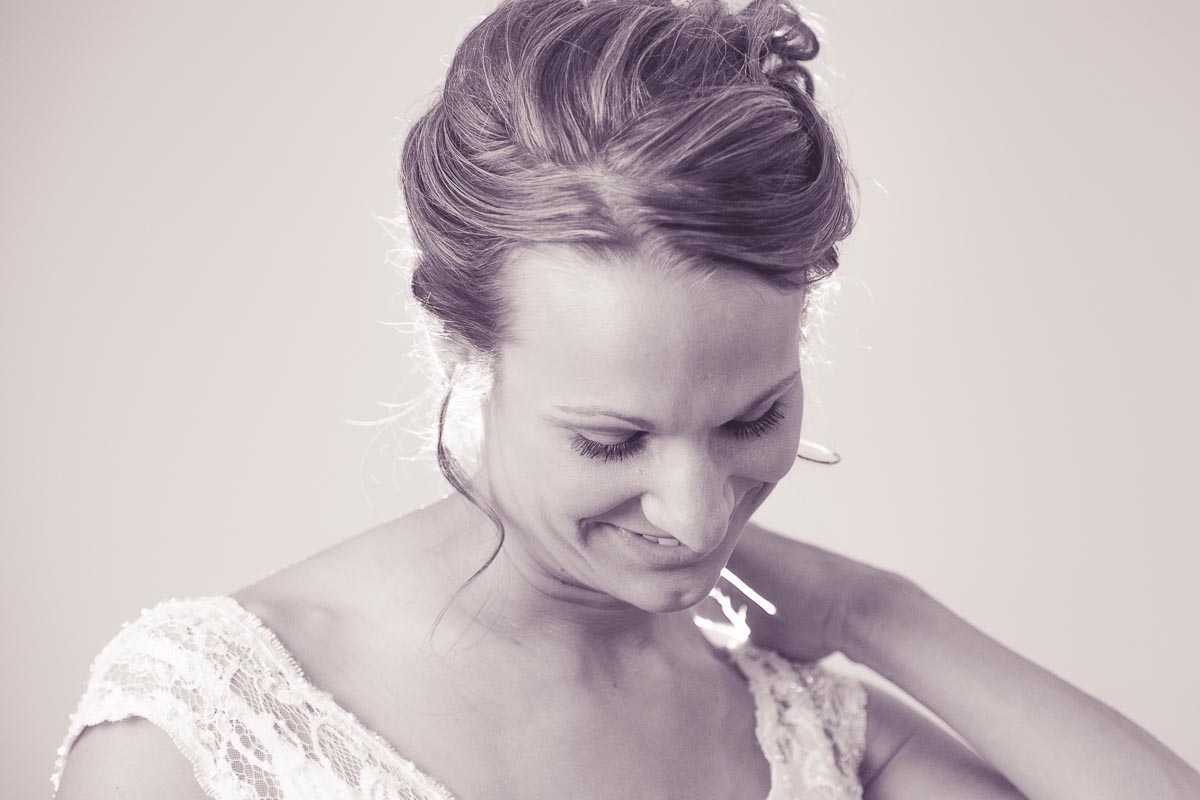
5D MARK II – f/6.3 at 1/50sec. ISO-1600
And as an added bonus I am tossing in an additional ‘how I got the shot’ here at the bottom. The shoes are a huge detail on a wedding day, so make sure you remember to take a picture of them. Since Jamie already had the strobe (flash, speedlite) on the monopod, we simply blasted light through the back of the dress to get this last shot. Yeah, I don’t love the grout lines on the floor, and I could even go into Photoshop and remove them if I was so inclined, but for the purpose of this demonstration it is not necessary. I took two pictures; the first gives you an idea of the look, and the second shows you how it was done – more or less. Want to see more images from the Evansville Wedding Photography.
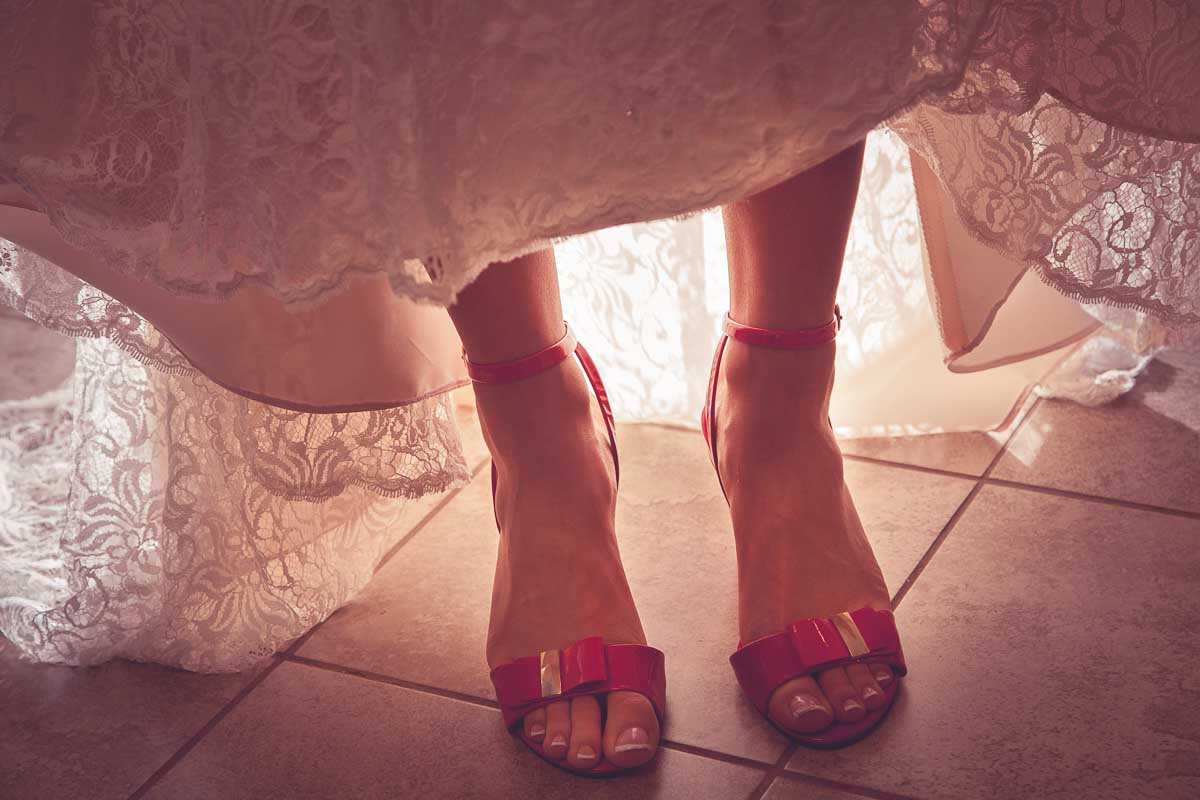
THE DETAILS | WEDDING SHOES
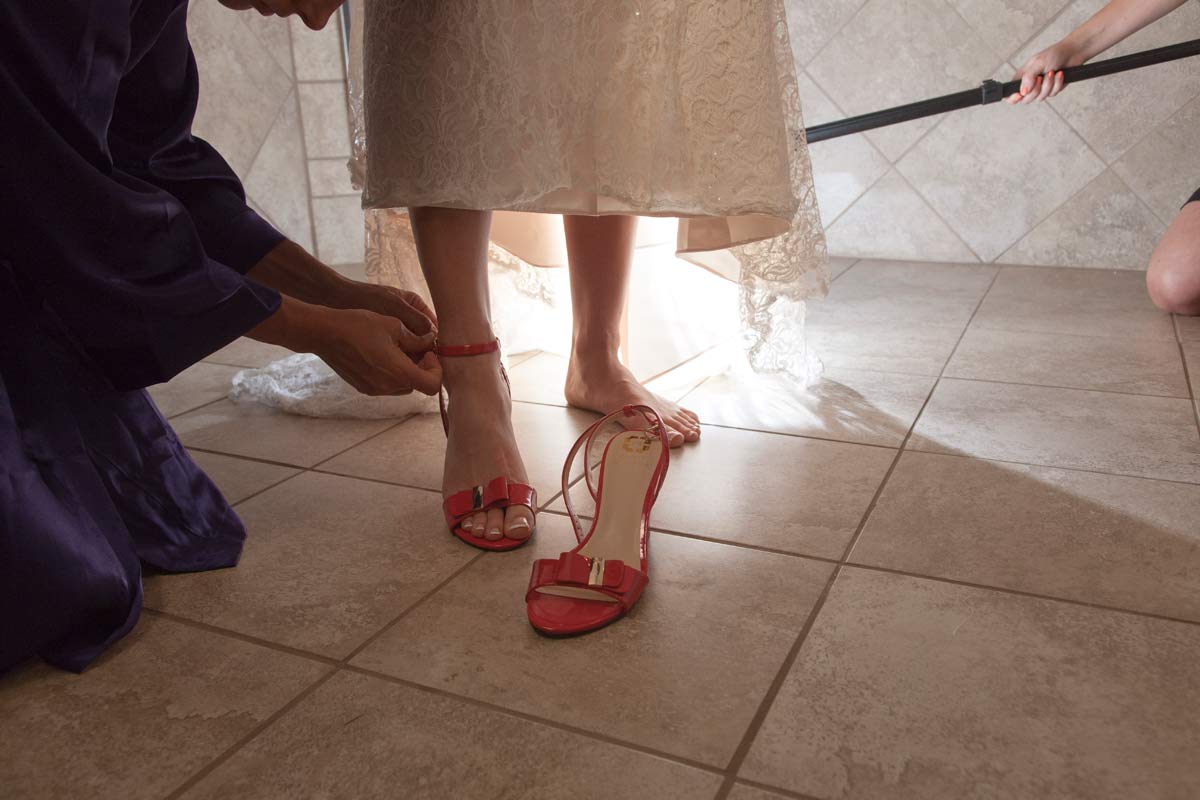
HOW I GOT THE SHOT
Nice !