This is How I Got the Shot
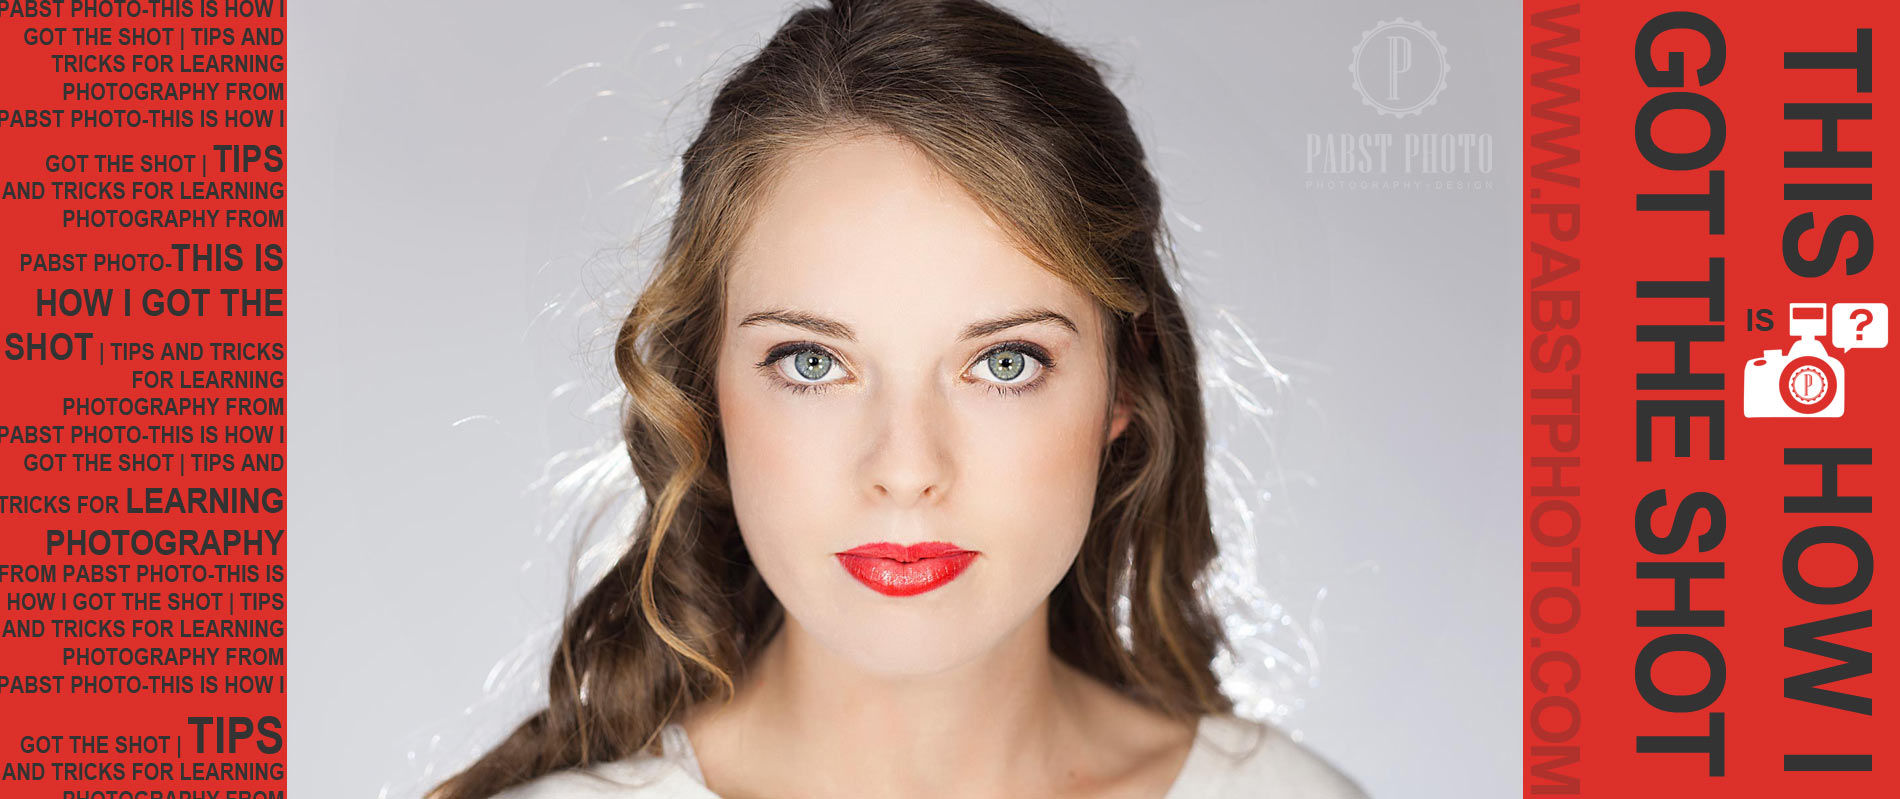
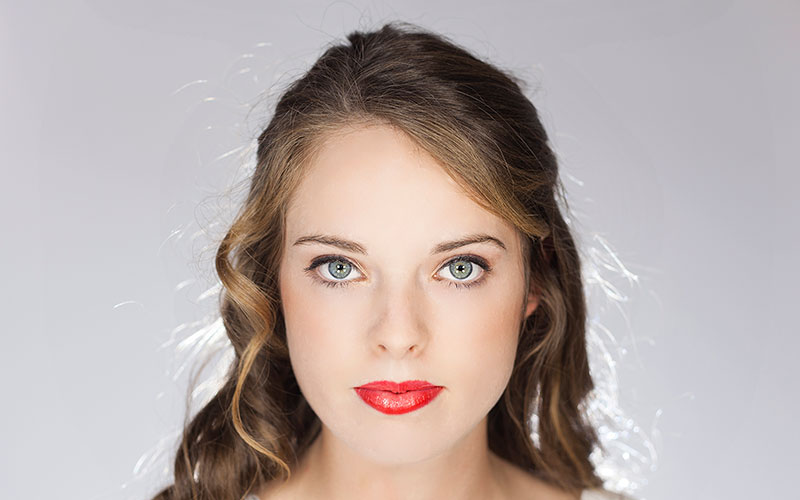
 This senior portrait was taken in our Chicago Photo Studio. In this short tutorial of sorts, above you can see 4 images in the slide-show. This is a recurring theme from Pabst Photo, check back for more 3D photography tips.
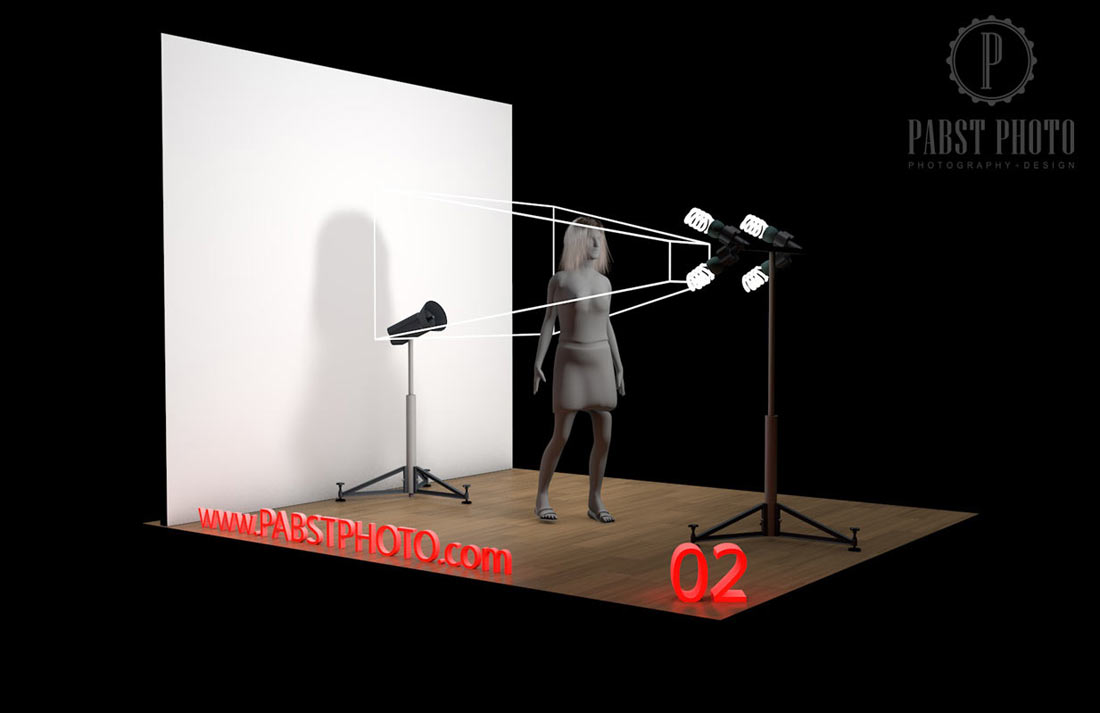
Number 01 | No Lights On
This image simply illustrates the setup. The thing to note here is that in this image I am not using any umbrellas or expensive light boxes, shades, reflectors or other gear. It is a simple studio setup that could be done in your studio apartment against a white wall. In fact, I said that because that’s exactly where this was taken; in our apartment in downtown Chicago against a white wall.
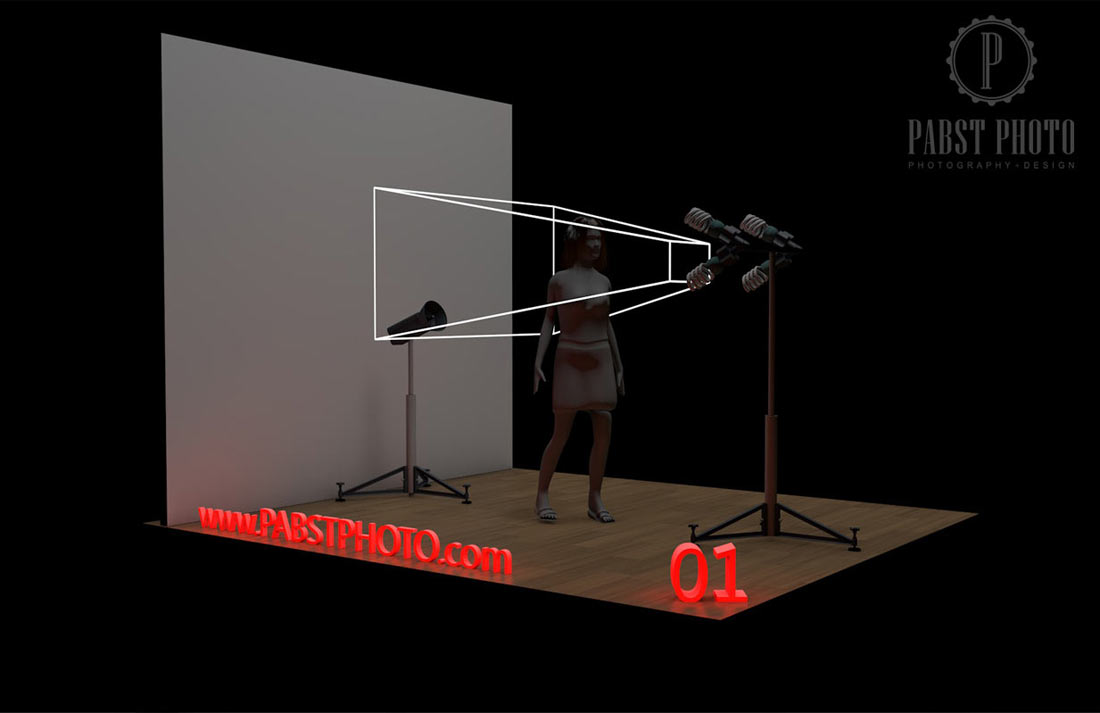
Number 02 | 4 CFL Lights Turned On (Compact Fluorescent Lights)
Again, this is not an expensive setup. You can pick up a 4 bulb CFL setup from the likes of Cowboy Studio for around one hundred bucks! Continuous lighting is nice for any level shooter because it really allows you, in real-time, to know what you are going to get when you snap the photo. That means focus is no problem and there is no need for light metering and the rest of it. Keep it simple, especially when you are first starting out. Studio Photography should be fun, why complicate it. Image 02 shows the scene lit with only the CFL. If you look into the eyes you will see all four of the CFL reflecting as catch-lights.

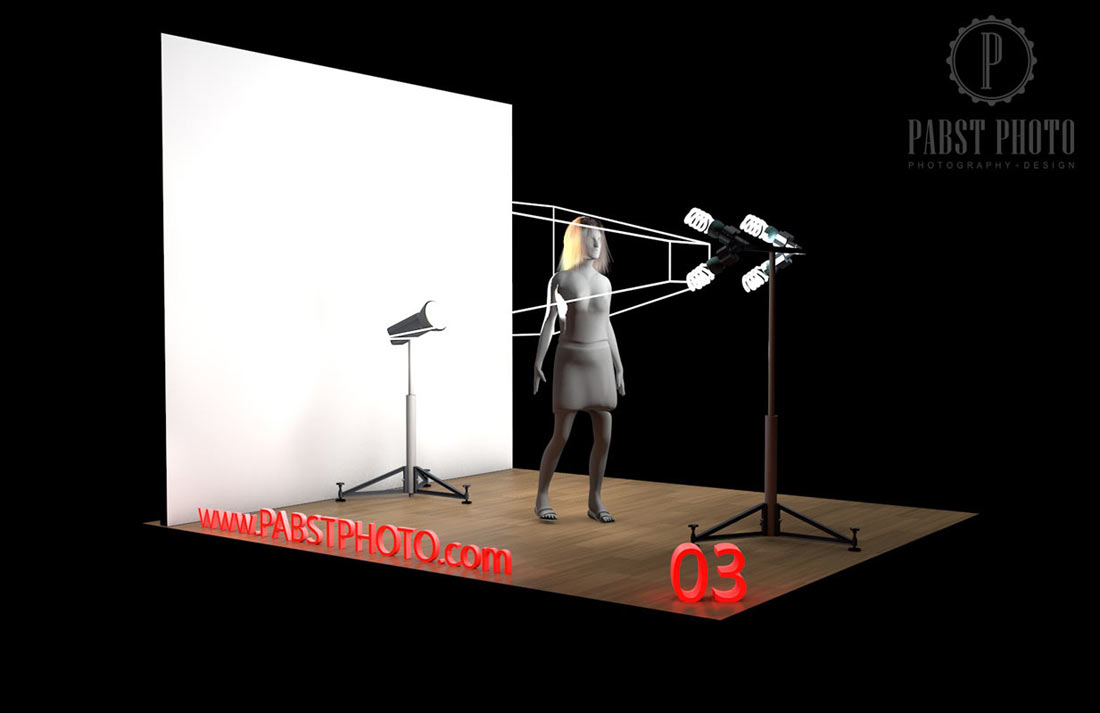
Number 03 | Add One Off Camera Flash or Strobe
A cheap thirty dollar flash was used, but you could use a $400 dollar strobe behind her if you have one. We didn’t. We also used an inexpensive radio trigger by Cowboy Studio to get this off camera flash. We didn’t need to use full power on the flash because we were just looking for a hair light. Take a couple shots with this setup to get your camera adjusted. This completes the shots. Shoot the strobe/flash upwards, even a little on the white wall; this will keep the wall from being too grey or dark–it will also remove the shadow cast by the subject standing between the wall and the bank of CFL lights.
Thank you for viewing, please leave a comment if this was helpful to you. I would love to get feedback — or share a link to your practice shots! We love to share, there are no secrets. People take pictures after-all in order to share them. Here are some more examples of How I Got The Shot. In addition, if you would like to see more from this session, check out this Senior Portrait Studio Gallery. Or, if you just love to learn, check out this How I Got The Shot – In The Snow.
thanks for a gaide from a simpal light setting
Will the same approach work with a black background (just like the first pic here: https://www.pabstphoto.com/canon-lenses-to-have-100mm-f2/)?
Absolutely — the exact same setup.
Thanks for the tip and the fast reply!